Lately, I've been having a lot of fun playing around with the different clipping masks on my templates when I've been scrapping. Some templates come with special clipping masks. Take my Envelope Journaling Masks, for example, they have clipping mask layers that look like an envelope. Sometimes with these more unique clipping mask layers, you might want to do more than just clip a piece of paper to it. So I'm going to show you how I do that.
Here's my before page with just paper clipped to the envelope and to some of the other layers.
Here's my completed page. You can see I played with the envelope, date tag, scalloped trim, and banner to make them seem more like an element that you might find in a kit.
I used my Envelope Journaling Templates.
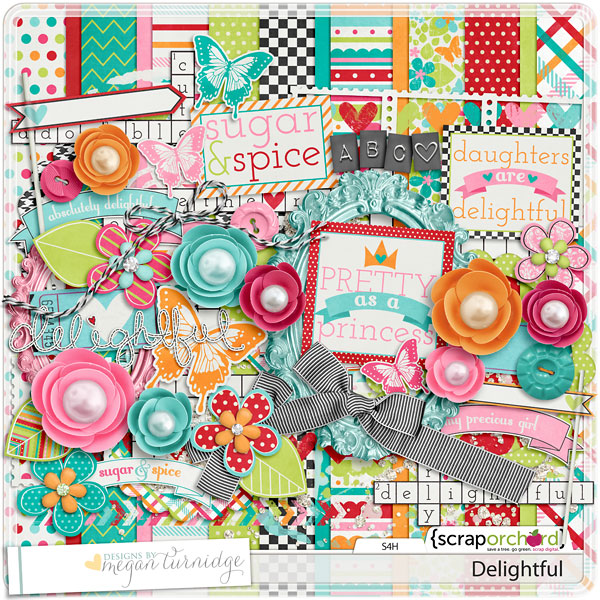
And Megan Turnidge's Kit Delightful.

So here's the video tutorial showing you how I did it and below is a written tutorial with a few pics!
I used Photoshop CS3.
I use an inner shadow to give the layers on my templates a more realistic look. I'm sure there are bigger and better ways of doing this but it's the way I do it.
1. Double click on the layer that you want to edit. Make sure you are not on the paper layer but on the clipping mask layer.
2. Click on Inner Shadow.
3. Set your distance and choke at 0 and play with your size. It will be different depending on the size of the element you are playing with and the look you are going for.
4. Play with the blending modes. I usually use Overlay as my blending mode but sometimes I'll change it up. There's no right or wrong here...whatever looks good, at least that's what I say.
You can go back and play with the size and opacity until you get just the right look. Don't be afraid to play with the other layer styles too, it can be a lot of fun.
-Liz


1 comment
FABULOUS post. I've been doing this a different way (as always there are a bunch of ways to do things in PS) but I really like this method! I'm sharing/tweeting this. Have a great weekend Christine Smith || christinesmith.net
Post a Comment