Happy Thursday!
CTM
Robin here to bring you a tutorial on recoloring those fun QR codes to better
match your layout.
If you aren’t sure
what I mean by QR code, check out a
this post on Liz’s blog which explains what it is and how to make one.
Or, if you'd like another tutorial too, here's one from The Lilypad which explains it a tad differently.
Now that you know what I mean, let me tell you that I love
putting these codes on my layouts so I can capture live action as well as still
photos.
It’s the best of both
worlds.
Plus, my kids LOVE using my QR
app on my phone to see themselves in action.
Even though they are so easy to make, I don’t always love
the standard black QR code on a white background.
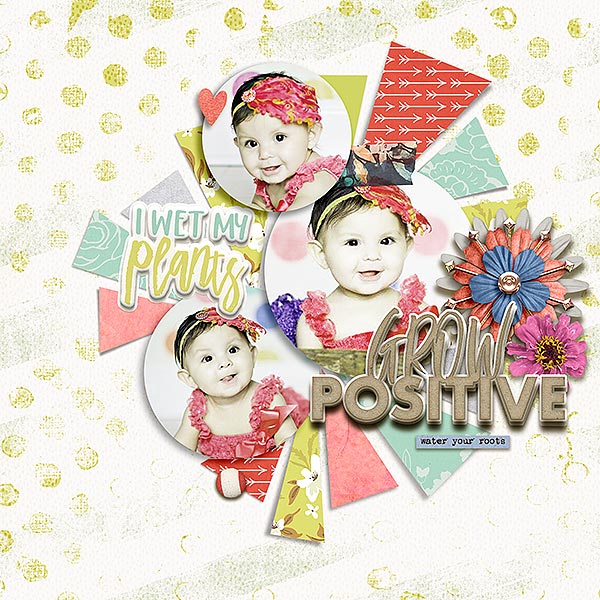
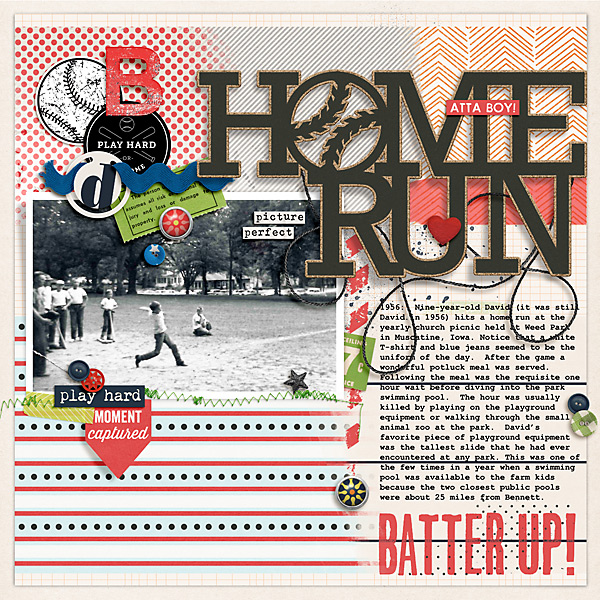
Let me show you what I mean. Look at my first layout:
See how they just really stand out with those colors?
I’d like to blend them in a bit more and use
Liz’s
Must Watch templates to draw attention to them, rather than the glaring
white background.
So how do I do this
you ask?
It’s really easy I promise!
Step 1:
Open up a new
document.
I like 500 x 500 pixels with a
white background for mine.
Step 2:
Place your
newly created QR code on this document.
Don’t forget to check out the tutorial if you need help making it!
Step 3:
Rasterize
your QR code by selecting that layer, right clicking on it, and then click on
Rasterize Layer.
Step 4:
Now, while
selecting the QR code, go to Select on your top ribbon and choose Select
>Color Range>Sampled Colors.
Use
your eye dropper to select the white background.
Make sure your Fuzziness is set to 100 like mine.
Step 5:
You should
then see those “marching ants” around all of the white areas.
Simply delete those and you will be left with
a black QR code on a transparent background.
Step 6:
Place this QR
code on your layout and you’ll notice the white background is gone!
Like I said, it’s so easy!
But wait!
Like those infamous commercials often say, "You can do more!"
If you want to cut away the black part, and do
a cool shadowing on the white part, you can!
For this, you do the exact same Steps 1 – 4.
BUT, rather than deleting this selected area
like we did above, you can just press
Control J on a PC or
Command J
on a Mac and copy that background to a new layer.
See my transparent layer?
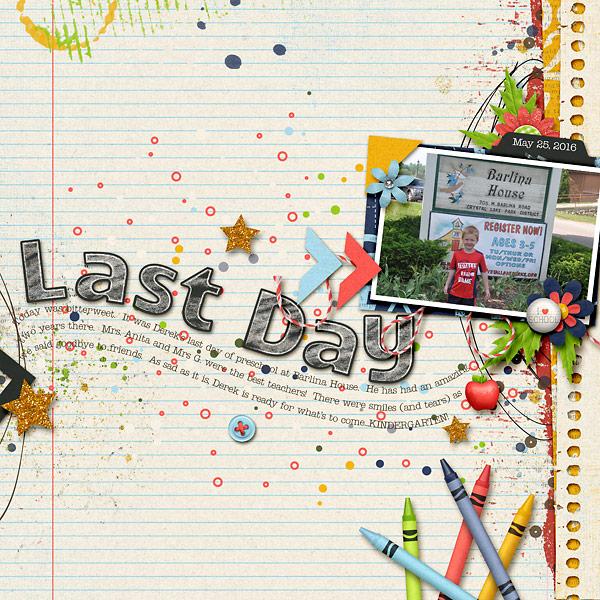
Copy that layer to your layout, and you can recolor it and
even give it a slight shadow like mine.
Now
it looks like it’s cut out.
Totally
different than my first one!
It's easy peasy, 'eh?! Let me give you a hint, you can try doing the same thing with the
magic wand. Unfortunately, since some of
the white spaces are so small (depending on your QR code), there is often areas
which either get selected when you don’t want them to, or not selected when you
do. The Color Range will take care of
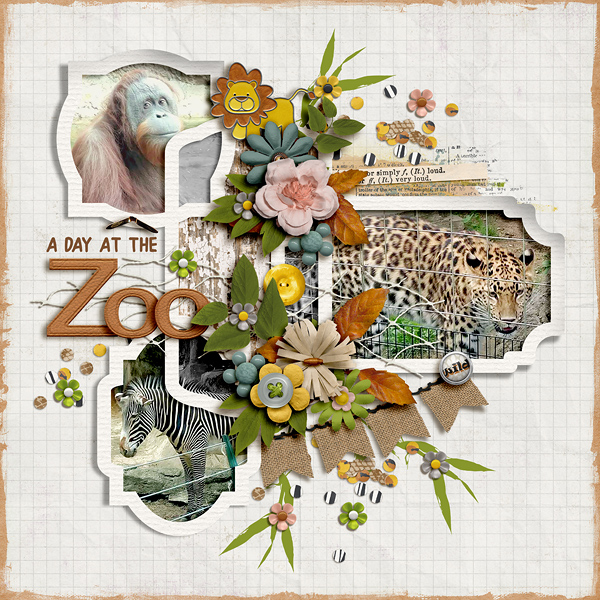
this! The possibilities are
endless. You can recolor just your
background, or the black QR part (like I did below on my third QR code), or both.
You can apply styles to either section too.
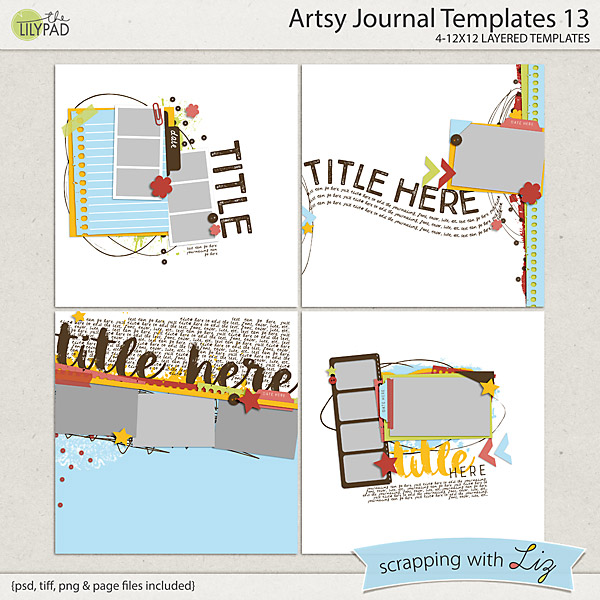
Just play until you get something you like! Here is my final version using Liz's Artsy Journal Templates 25 after I made the adjustments.
And don't forget too that Liz's Must Watch
Templates 1,
Templates 2, and
Templates 3 are great for adding that extra bit of pizazz to your QR codes! I hope you have as much fun as I do with adding video to your layouts :)