
Hello there! CTM Robin here with another Step-by-Step blog post to show you how I combined two different templates to create a brand-new layout.
I used template 4 from Paper Cut Out templates & template 2 from Frame Template Starter:


I love the fact that Liz’s templates work so well together as this technique really stretches my stash. How cool is that?! Okay, okay, I’ll stop wasting time and show you what I mean. First, I added my photos to the template from the Paper Cut Out set:

Then I added in the pieces from the Frame Template Starters:

By the way, one of the reasons I chose these two templates was because of the matching tabular shapes. That red shape on the bottom right of the Frame Starter template set is also found to the left of the first photo cluster in my Paper Cut Out template. Repeating elements means the mashed set will appear cohesive!
Next, I got rid of all the pieces from the Paper Cut Out templates that I felt would be too much for my final layout. I also saved this layout using the “save as” command so that I could use this combined template over again without repeating the above steps.

After that I just added my papers from Just Jaime’s April2022 Storyteller collection:

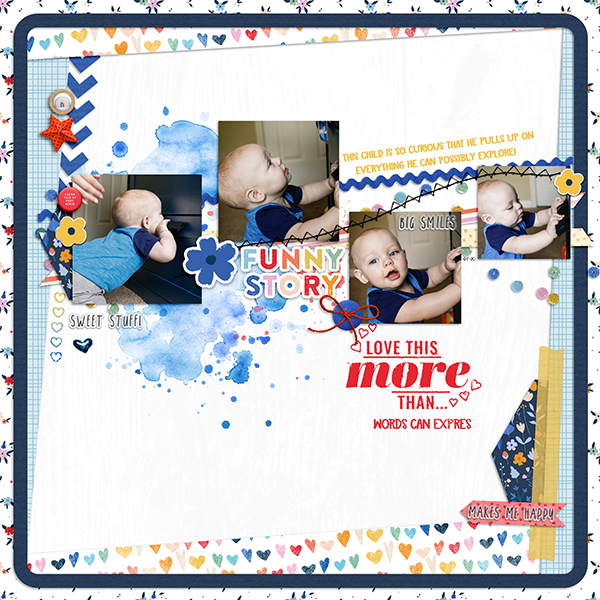
Finally, I added my elements and text, and my layout was completed!
Isn’t that fun?! You too can create new templates just by mashing together multiple ones from Liz’s store. Just be sure to save your newly created template so you can save yourself time later!
Well, that’s it for me. I hope you enjoyed this post and I’ll see you next month.
No comments
Post a Comment