Scrapping with Liz

Trying Something, Please Help!


So, I've decided to try my hand at hybrid scrapbooking! Can you believe it? Honestly, I can hardly believe it myself!

I've always loved the ease and simplicity of digital scrapbooking. I love being able to create a page on my computer, move things around as much as I want, and, let's be honest, not have to clean up a big mess when I'm finished! But lately, I've found myself wanting to create something I can actually touch and feel.

Maybe I'm just going back to my roots.

Or maybe it's all those beautiful hybrid scrapbook pages I've been seeing on social media lately. Either way, they've definitely been tempting me! So, when I started working on a travel album from our family trip this summer, I decided it was the perfect time to give hybrid scrapbooking a try.

Now, I have absolutely no idea if I'm doing this "right." Is there even a right way to do hybrid scrapbooking? I'm sure I'll figure out plenty along the way, and probably make a few mistakes, too.

Here's how I got started!

I began with a template from my Simple and Sweet Travel Album set (6x8 size), along with the beautiful Wanderlust collection by Elif Sahin and Designed by Soco.

I took the template and started designing my page just as I normally would digitally. I added the Google Map in place of the photo layer and placed the elements where I wanted them. I also clipped a paper to the tag element.  Then I separated the layers and arranged them on an 8.5x11-inch page for printing. You can see in the image above exactly what I printed.


Then I printed, cut, and glued the pieces together just like on the digital page I created.
I also created a text-only page and a title page (no template - gasp!).


I then purchased a 6x8 album, 6x8 page protectors, and washi tape. I honestly didn't want to purchase the album and protectors until I knew that it was something I wanted to keep doing.


Then I placed my pages in the page protector and into the album.


I didn't put the page you see on the right inside a page protector because it has a more interactive element. I attached one of the layers with washi tape so you can flip up the card and see the entire map underneath.

And that brings me to my first question! For those of you who create more interactive hybrid albums, how do you protect pages that can't go inside a page protector?


Here's a little video showing more what the pages look like.


Help a girl out! What paper, cutting tools, and other must-have tools do you recommend for hybrid scrapbooking? I'd love to know what products you absolutely couldn't live without! I'll be sharing more hybrid pages soon along with my digital pages!

-Liz


Printed Hawaii Album

It’s finished, printed, and in my hands—and I love it!

I ordered a 10×10 album from Shutterfly (ignore the 8×8 title—it was a typo!). It has a hard cover, glossy finish, and 47 pages, and I couldn’t be happier with how it turned out.

I created the album using my templates and other digital products from Hey Scrapper Shop.

Take a look at the photos and video below for a closer look at the finished album! The pages are in no particular order.


Love the big photo, full page spread!


This was probably one of my favorite spreads, and I sort of want to do a whole album like this.


The shadow work!


Here's a little video of my scrapbook.


Let me know if you have any questions.
-Liz

In the Lines & Wavy Layers: 12x12 and 6x8

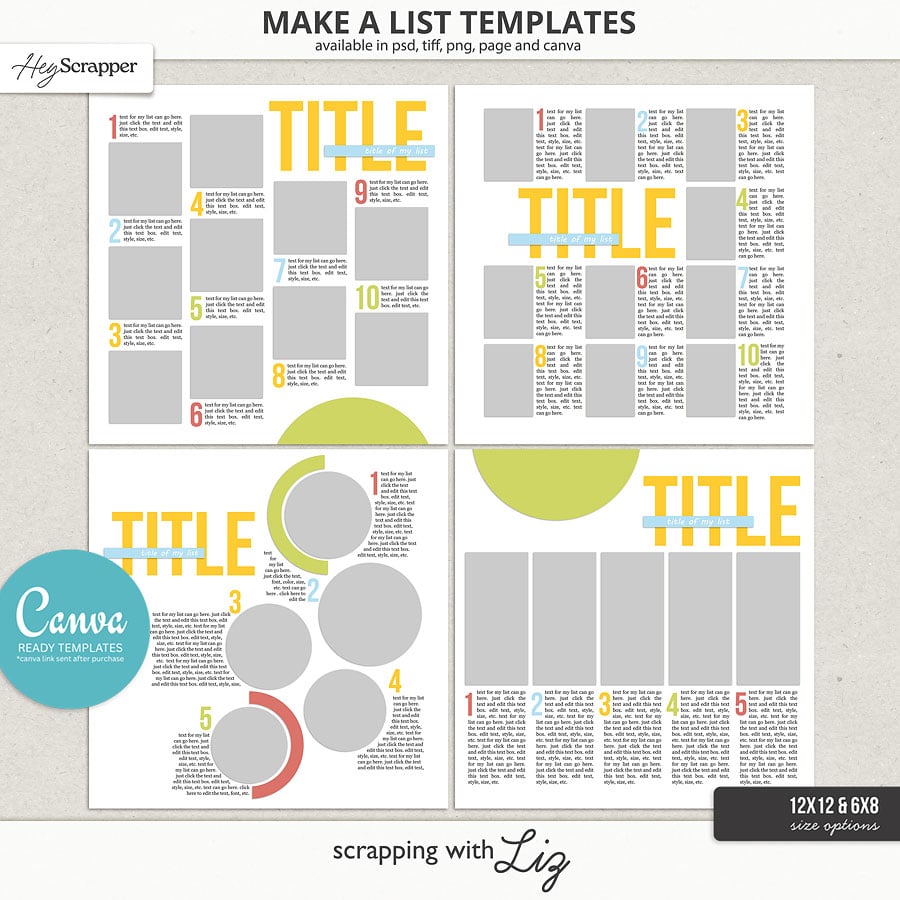
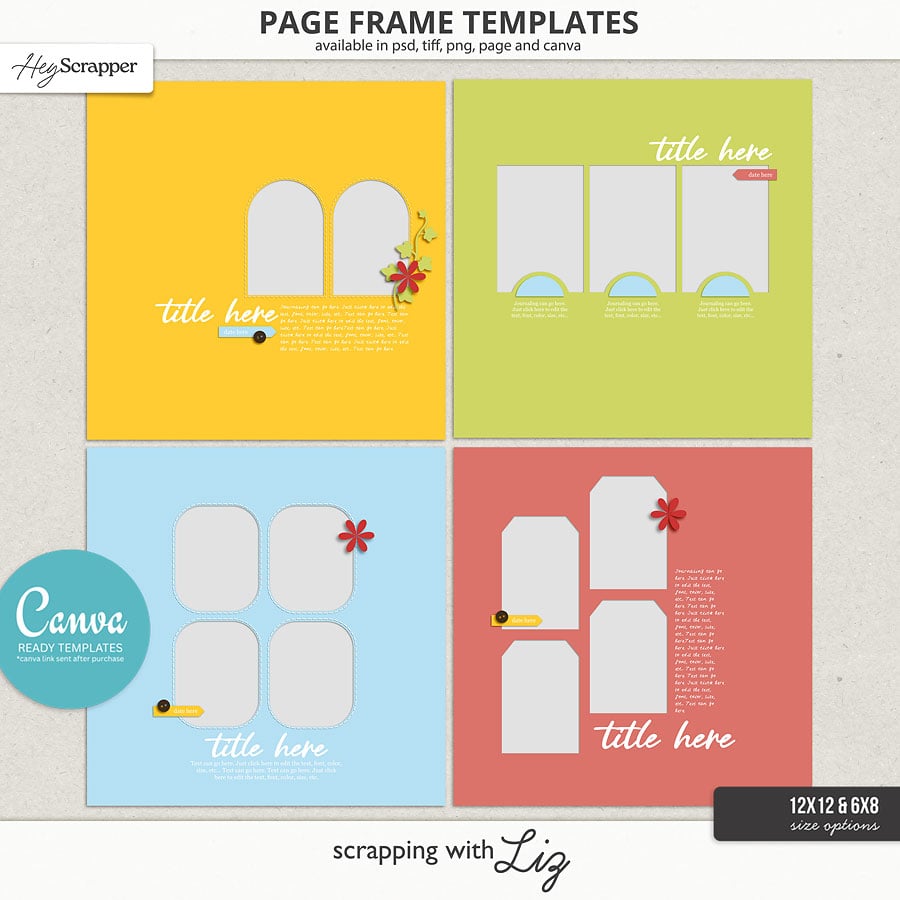
My latest template releases are here to help you document your memories with ease! Whether you're capturing your Summer water memories or documenting the details of your latest adventures, these templates are perfect for you. 

Tell your story with clean lines, bold blocks, and modern design! The In the Lines Templates are perfect for scrapbookers who love structured layouts that make it easy to combine photos, journaling, and memorable details into beautifully balanced pages. And these come in 12x12, 6x8, or CANVA!

(When you purchase the CANVA templates there are two video links included that will show you how to use these templates.)

Add movement and a playful touch to your scrapbook pages with the Wavy Layers Templates! This versatile set features flowing, layered curves that create beautiful borders and eye-catching design elements—perfect for highlighting your favorite photos and stories. These come in 12x12 and 6x8!

Let the templates do the heavy lifting while you focus on telling your stories. 


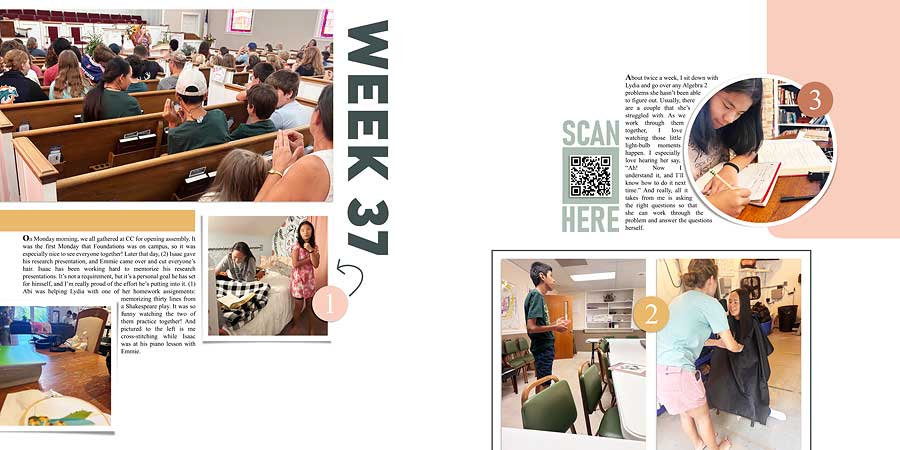
Week 32: School and last bits of summer!

 Here's our week 32. We started school but are still hanging on to bits of summer. 


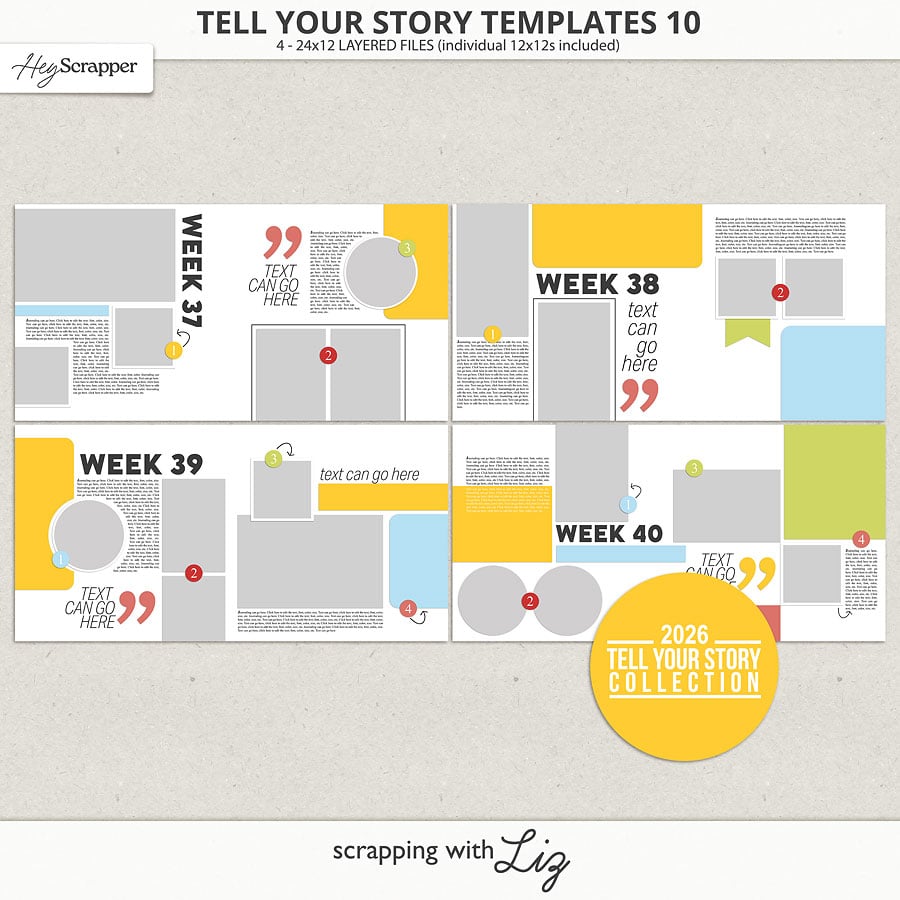
Tell Your Story Templates 8 by Scrapping with Liz
Must Watch Templates 8 by Scrapping with Liz


Tell Your Story Templates 8 by Scrapping with Liz
Must Watch Templates 8 by Scrapping with Liz


Tell Your Story Templates 8 by Scrapping with Liz
Must Watch Templates 8 by Scrapping with Liz


-Liz


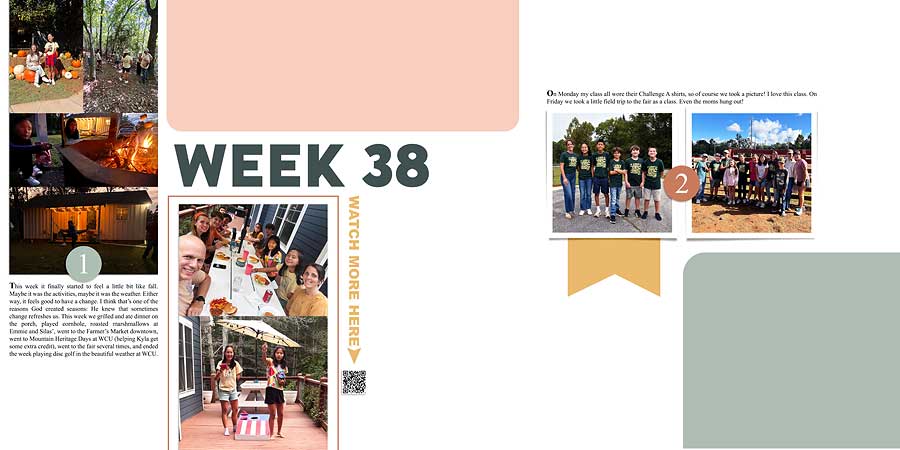
Weeks 29-31: Travels!

We’ve been traveling these last couple of weeks, so I got a little behind on my pages. But because these are so simple to put together, I was able to catch up this weekend!

I do plan on scrapbooking our travels in a separate travel album. I’m thinking about doing it a little differently than I have in the past, and I’ve been mulling over some ideas. I’ll keep you posted!

In the meantime, here’s a look at what my weekly pages have been looking like.


Tell Your Story Templates 8 by Scrapping with Liz

Tell Your Story Templates 8 by Scrapping with Liz

Tell Your Story Templates 8 by Scrapping with Liz
Postcards Digital Stamps by Paislee Press

Tell Your Story Templates 8 by Scrapping with Liz
Postcards Digital Stamps by Paislee Press

Tell Your Story Templates 8 by Scrapping with Liz


Tell Your Story Templates 8 by Scrapping with Liz
Postcards Digital Stamps by Paislee Press


© Scrapping with Liz
Maira Gall