Splitting a 24x12 Page in Photoshop

Two video tutorials today! These video tutorials are going to show you a little bit about how to edit a 24x12 finished page and template.

Without further ado here is the 1st video. It will show you how to take a finished 24x12 jpg image and crop it into 2-12x12 pages so that you can send them off to your favorite print shop and print them. The beautiful kit I used for my page is from Tracie Stroud and Jennifer Barrette called Walking on Sunshine.


This second one shows you how to take the 24x12 layered psd template and crop it into 2-12x12 layered psd templates. That way you can use each side of the page individually if you want to.


I just love 2 pagers, great for lots of photos and recap pages. Okay, now for the giveaway. Just tell me if you like to do double page spreads or if you think you would be more likely to use 24x12 templates individually.  I'll announce the winner on Thursday's blog post. They'll win my 2 new template sets that will be coming out this week! You won't wanna miss them.

My Mother's Day

Before I begin today's post I'm going to announce winner #2 of my $25 giveaway to my store. Everyone who purchased more then $5 from my store during the sale was entered into the drawing and the winner is Adriana (order #158319) Congrats! Thank you all for supporting me and I hope you enjoyed shopping and grabbing the freebies I had for you. There is still one on facebook right now and I'll also leave my template from my challenge up for a few more days in case you missed it. Oh and don't forget about my sneak peek and giveaway from yesterday. Tiff will be announcing that winner on Thursday.

Now, on to my Mother's Day. My Mother's Day began on Saturday morning, celebrating iNSD alone, at home, by myself! Thanks to my wonderful hubby, I spent most of the morning shopping, designing and scrapping (although I only got one page done!) Then I even got to do a little bit more on Saturday afternoon while the kids played outside. It's amazing how much I can get done when I just have a few hours to focus.

Here's the page I scrapbooked on Saturday.  I used the exclusive template I have on my facebook page right now. I posted it for iNSD and it will be there until I have another one for you! I used DeCrow Designs Amiable Kit.


On Sunday I told my hubby that I really wanted to go hiking. So he found a new spot that we had never hiked and we went hiking after going to church together. It really was the perfect Mother's Day. When I got home, after the girls were in bed, I scrapped a few pages about it. I chose a template from the Miscellaneous set I that had spots for big photos. Then I wanted to make a double pager, so I used the same template and rotated the layers. I kept the pages pretty simple. Since I had so many big photos on the pages, I didn't need a lot of elements (although it is hard not to use all those beautiful elements). I used the kit Seek Adventure from Tracie Stroud and DeCrow Designs and the word bits are from Tracie Stroud's kit Beauty in the World. I also used a screw from Julie Bullock's Stainless Alpha.


Here's the journaling if you are interested in how our hike went.
 For Mother’s Day I really wanted to go on a hike with my family and so that is what we did. Our destination was Glen Falls (about a 1 mile hike) but it was under construction when we got to the trail. There was another trail leading to the left called Chiquapin Mountain Trail. It did say that it was 3.6 miles round trip and “more difficult” and we debated on whether or not we could do it with the girls. We started it and figured we could turn around if we couldn’t do it. We ended up hiking the whole trail with a stop to play in the creek. The girls did awesome and we only heard, “I’m tired” a few times. I did end up carrying Kyla almost the whole way, with a few breaks to carry Emmie and yes, even Ashlyn! Oh and not to mention the 1 mile I ran with Kyla on my back because of a potty emergency (this is the part I will probably remember the most from our trip!). It was a beautiful trail with lots of fun things for the girls to see and then when we got to the top we got to see an amazing view. Even the girls agreed that it was worth the hike. It was a BEAUTIFUL Mother’s Day! Thank you God for giving me these precious children and for the beautiful world you’ve given us.

That was my Mother's Day. I hope you all had a wonderful day too.


Tips: Guides

HI Everyone!  I'm Jenn, aka jk703/The Typative Scrapper.  I'm getting a chance to stop in here on Liz's blog during my guestie month of May!  So excited!  I decided to share some info about guides and why I use them in my layouts.

Guides are a easy and smart way to be able to line up items on your scrapbook layouts.  They are non-prinatble, and available in Photoshop and Photoshop Elements.  In the Elements version, they are only available as presets. Whether you are working on a row of flowers, a title or keeping inside of the guides, they are a great tool to use.

For my example below, I used Liz's Blocked Templates (no longer available) and Jennifer Labre Designs, Color Me Happy Kit.  I am slowly working on my P52 album, and this is my week 4 double spread.


My own personal use of guides is for every layout, and help me to get my pages ready for printing - from before the page is created or the first paper placed! I know that when printing pages, approx 1/4 of the edge will be cropped on my pages.  So, since I create double layouts, I've created a template document with guides placed at a 1/2 inch interval at every edge of my page.  Here is what it looks like as I am creating:


See the blue lines on my pages... I try to keep everything inside of those lines that is important.  My journaling is just on the edge, but should be fine, since my guides are set at 1/2 inch.

By using guides, I can get my pages ready for an album upload right away!  I save a web version, and I also save an album version right after I've completed the page!  Saves me more time later on!

So, here is how you can add a guide to your layout. Click View > New Guide on the top menu bar.

Next, you can choose where you want your guide placed on your document.  Choose Horizontal or Vertical as well as the location using inches within your document. My guides are vertically set at  .5, 11.5, 12.5, and 23.5 for my double layouts. Horizontally, my guides are .5, and 11.5.

Click on OK... and you are done!!!

Another way to add guides is also just as easy.  If you have the Move Tool selected, as well as enabling the Rulers and Snap items, you can just drag a guide from the ruler to the spot you need one at.  Just click and drag... easy.  


 One last tip... If you work with guides and you are zoomed in close to your document, but need to see the whole document in your window, just double click on the Hand Tool. Instant  view of your whole document.

Hope you've enjoyed this!  I'd love to know what you think too!  :)  Now, head on over to Liz's store and check out all the Farmer's Market $1 items!  WOW... lots to get!  I'd better got some shopping done myself!

Have a great day, and thanks for visiting!
Jenn (jk703/The Typative Scrapper)

Text Path Tutorial with Freebie

I'm back again with another video tutorial and a freebie to go along with it! I'm just having too much fun with these. Plus I've had a lot of questions about using the text paths and how to edit them. I thought the best way to answer these questions would be through a video tutorial.

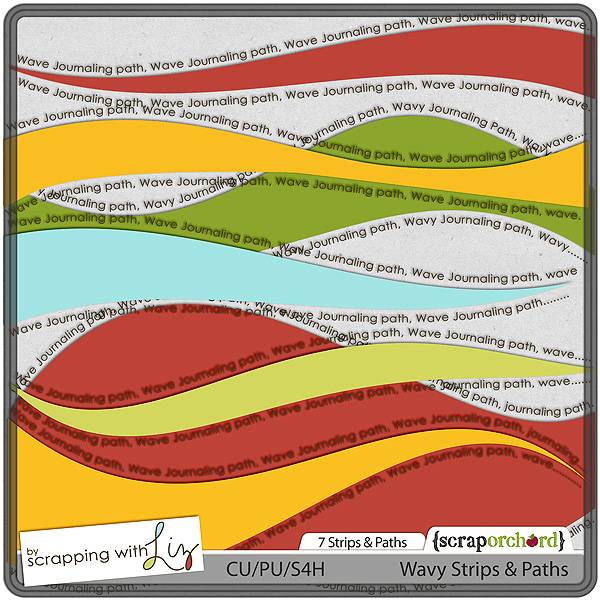
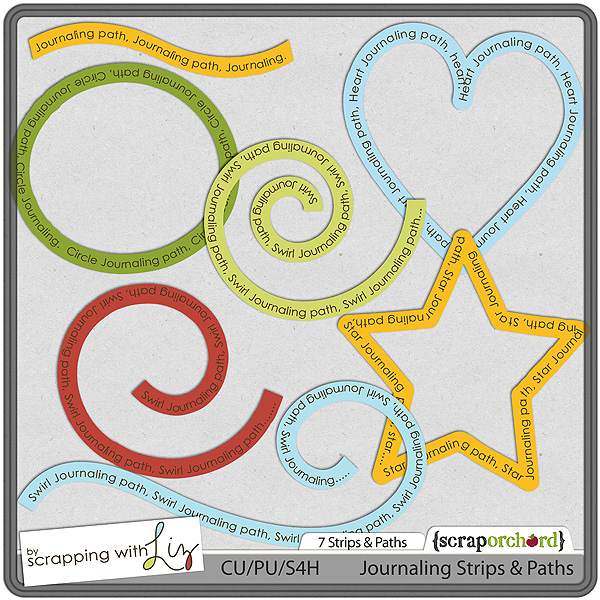
Before I begin, here are some of my text paths that are available in the store (no longer available). 


Now for the tutorial. I'm doing this in Photoshop CS3 but I think it works the same way in Photoshop Elements. Sorry about the sound, it kind of sounds like alien noises or something in the background.


Hope this helps. Have a happy Tuesday!


© Scrapping with Liz
Maira Gall